So I’ve already had several blog entries about Cinco de Mayo last year, and the practice runs that led up to it. I enjoyed cooking Mexican dinner so much that, even though it was the most work I’ve done, I decided to do it again.
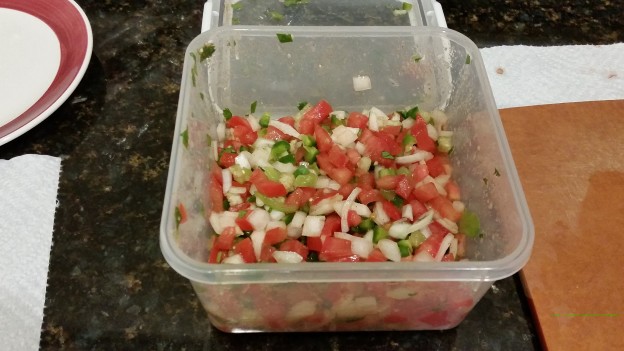
Last year, I made guacamole. So this year, I wanted to do something different. The other classical Mexican appetizer (and by “classical”, I mean what US pop culture thinks of Mexican food) is chips and salsa. So I decided to make my own salsa.
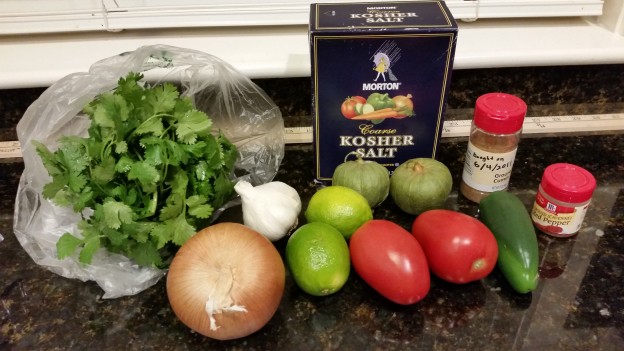
I think this one is classified as a pico de gallo. I started with Alton Brown’s guacamole recipe and took out the avocados to make it a salsa. I also threw in a tomatillo because, what the hell, why not?
Speaking of tomatillos, one thing I learned about shopping for tomatillos is that the good tomatillos are still in their husks, but you have to take off the husks to see if the tomatillos are still good. It’s kinda weird.
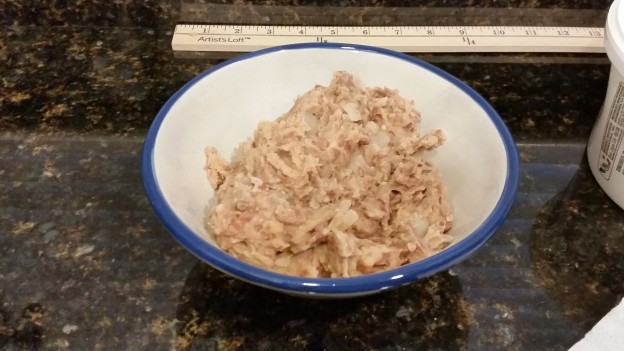
Last year, I boiled some pinto beans, but I didn’t refry them because boiling them took a lot of time. This year, I decided to actually refry them, since classical Mexican beans (again, “classical” meaning “US pop culture”) are refried pinto beans.
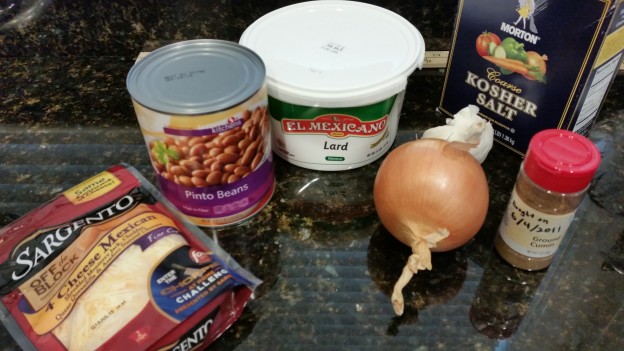
I’ll confess, I made these from canned beans. I know some people say canned beans taste awful, but making your beans from dried takes so much time, and with enough seasoning (namely salt and fat), it comes out tasting good anyway. Also, the lard is back. And onions and garlic, of course.
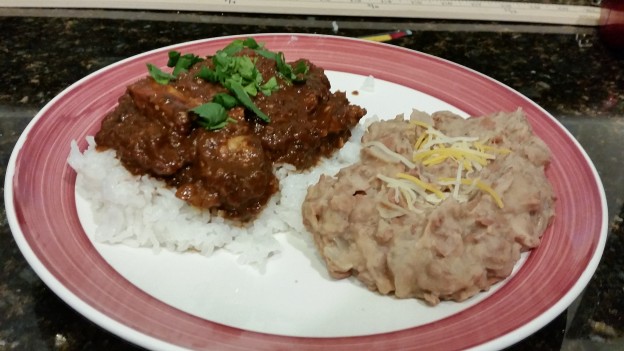
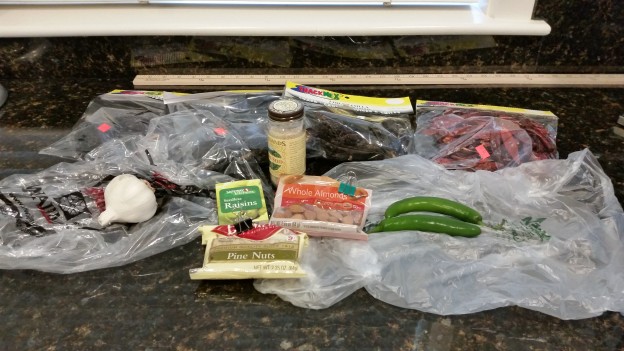
So I said last time, I’d personalize my mole by adding Asian flavors to it. So I decided to add Thai chilis (also called Japanese chilis or “chiles Japones”), Sichuan peppercorns, and Chinese 5-Spice. Unfortunately, I underestimated how hot Thai chilis are. The mole has 4 anchos, 4 mulatos, 4 pasillas, and 4 serranos, and Thai chilis are small, so I figured 8 Thai chilis should do the trick. Except I didn’t realize that Thai chilis are about 10x spicier than anchos. The mole came out a bit too spicy. Oops.
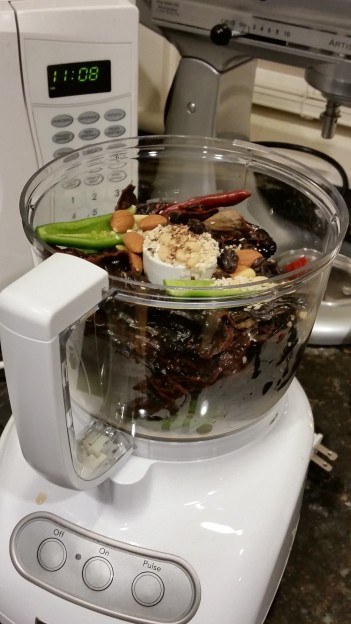
Last time, I made the chili paste and the nut paste separately. This time, I figured there’s no reason to make these pastes separately since I always put in the same ratios anyway, so I might as well make a master chili, nut, and seed paste. (I realized many days after this photo is taken that having all the chilis inside their plastic bags was probably not the best photo op. Oh well.)
Also, last time, my mole was ridiculously thick. This time, I decided to thin it out with about 2 cups of my homemade stock. Also, to correct the mishap with the chicken, I ended up poaching the chicken in the stock, a technique I borrowed from the chicken pot pie recipe. The mole still came out really thick though. Not sure if I should thin it out even more. Maybe. Maybe not.
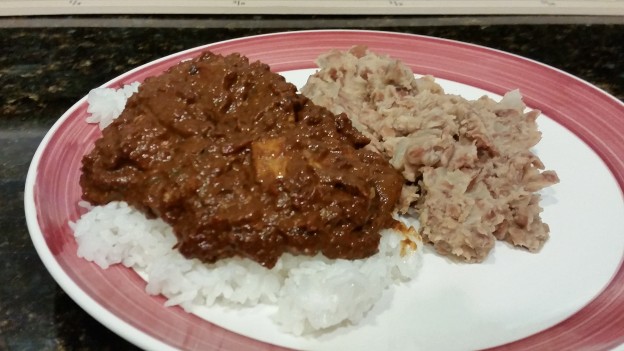
The rice, once again, was Calrose rice. It fits the theme of Asian-fusion mole, especially if I chop up the chicken into cubes and cook it into the mole and serve it on top of the rice like a curry.
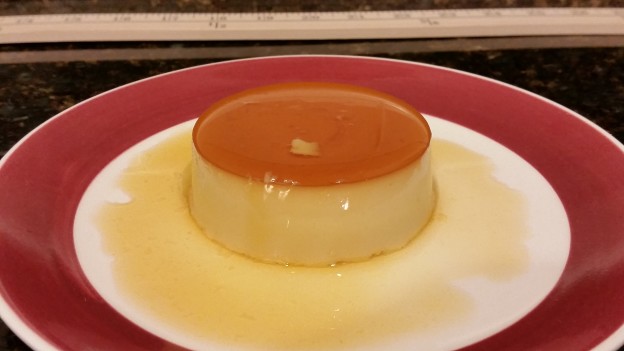
And finally, dessert. Last time, I made Pastel de Tres Leches, aka Three Milks Cake. I could have made that again, or I could try something new. The other traditional Mexican dessert is flan (aka creme caramel, aka custard with caramel). So flan it is.
Leading up to my first practice run with flan, I did a whole bunch of research. Most notably, since Alton Brown dedicated an entire episode to custards (and half of that episode to flan), I decided I needed to watch that episode. (And since making caramel is also a skill, I decided to watch that episode too.)
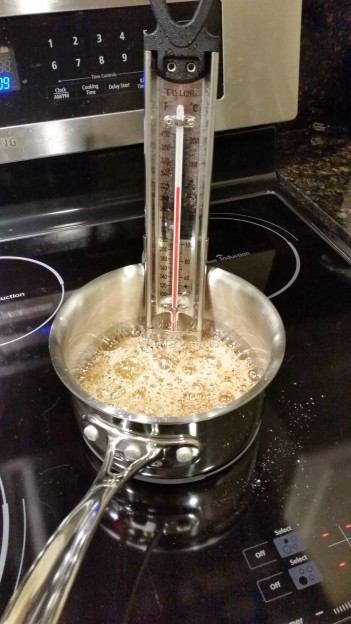
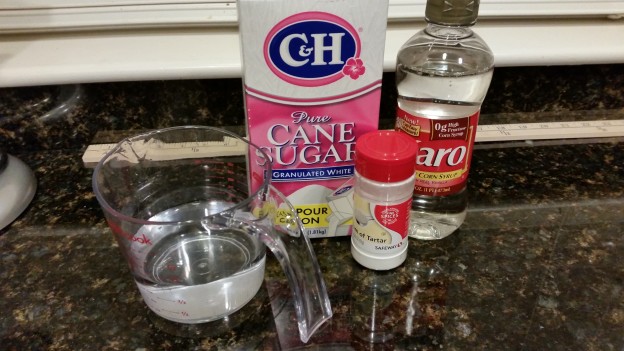
Alton warns against the sugars crystallizing while caramelizing. But he suggests adding a little bit of corn syrup (the non-high-fructose variety, but that’s another blog entry) and a little bit of cream of tartar. And enough water so the thing doesn’t burn right away. Now, not everyone takes these extra precautions. Some people just dump sugar in a pan and watch it turn brown, and some don’t even use a thermometer. But I figured I might as well use the tools I was given.
Of course, even knowing what you’re doing, caramel is still fraught with peril. As it turns out, pure caramel is rock solid. (Sugar caramelizes at 320 F, so all that water definitely boiled away.) And just because you’re putting a custard on it and baking it doesn’t make the caramel not rock hard. So my first attempt at flan ended with a layer of rock hard caramel stuck to the bottom of my ramekins. Oops.
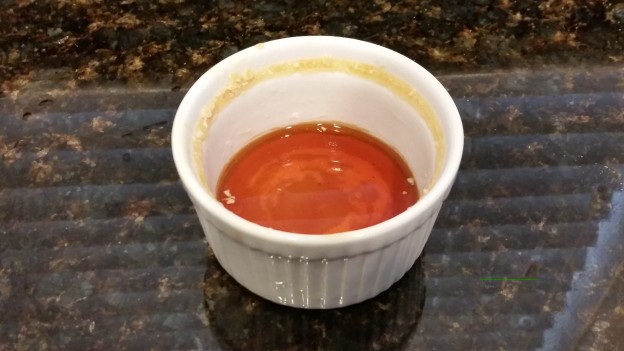
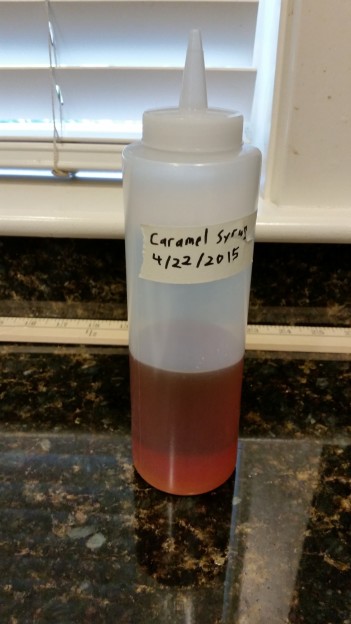
Fortunately, the internet has the answers I need. Some people suggested that the cheap Safeway brand sugar was beet sugar, and that pure cane sugar (generally C&H brand) would give me much better results. This may or may not be true, but I went and got C&H sugar anyway. The real game changer was once the sugar was caramelized, carefully add some water and stir to make a caramel syrup. Make sure you don’t add too much water (I ended up with 1/2 cup water for 400g sugar), or your caramel syrup will be way too watery (more on that later). But if you do it right, you’ll end up with a bottle of nice, thick caramel syrup that can be used for anything.
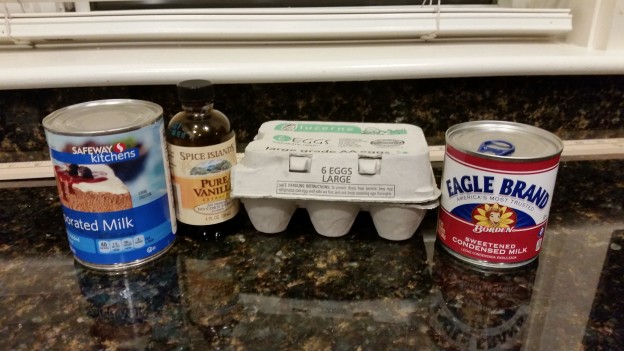
So we’ve talked a bunch of caramel. Let’s talk about the other part about creme caramel, the creme. Err, I mean, custard. Now traditionally flan is made from eggs and milk (and maybe cream). But I asked my friend Cat, and she gave me a flan recipe with condensed milk and evaporated milk. So I figured, what the hell, let’s do it! And it’s nice and dense and sweet and delicious.
An interesting thing Alton talks about is scalding the milk. A lot of recipes will call for scalding the milk. A lot of people will just end up not doing it anyway. So I did even more research on this. In the aforementioned Good Eats episode, Alton doesn’t even tell you why scalding the milk is important. In his 2004 book More Food (the baking one), Alton admits he doesn’t know why, but scalding the milk makes the custard smoother (page 291). The wikipedia article on scalded milk suggests that it’s to denature proteins. (Both acknowledge that with pasteurization, sanitizing the milk is no longer a thing.)
With a little more research, I found this article, which finally reveals the truth: that scalding the milk is really just a way to get the temperature up and reduce baking times. In his 2009 book, Good Eats, Vol 1, Alton finally comes to the same conclusion (page 155). (Alton, we forgive you for taking so long to figure this one out. You still have better information than most cooks and cookbooks.)
Baking flan is a little bit tricky. There’s a lot of variation in flan baking time, so you’ll need to put in an extra effort to make sure everything’s consistent. If you choose to scald your milk, scald it to the same temperature. (You could do this visually, when it just starts simmering.) When you temper your milk with your eggs, temper it the same way every time. And when you bake, use the same containers and the same amount of water in the water bath. (Definitely use a water bath, so you don’t burn your custards.)
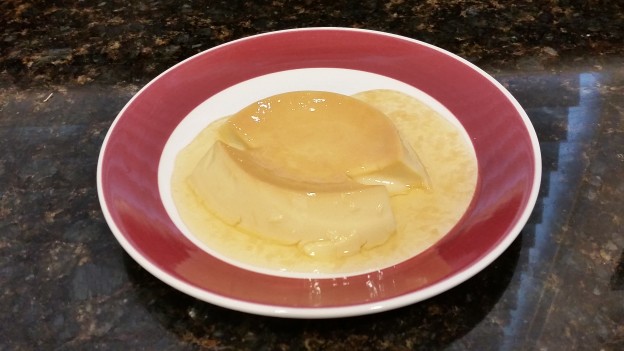
This picture is what happens when you underbake a flan. The flan is still mostly liquid on the inside, so it just collapses under it’s own weight. (Still better than overbaking it though, which changes the texture and flavor of the custard, changes it for the worse.)
You might be wondering why the caramel syrup looks weird. Well, remember when I said don’t use too much water? Here, I used 1 cup water for 400g sugar instead of 1/2 a cup, and I didn’t stir to get the sticky stuff off the bottom of the pan, so my caramel syrup was super watery. And it shows.
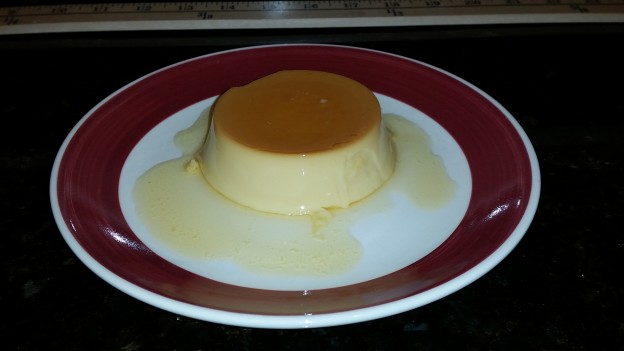
It took me 4 tries to get the flan right. And I still don’t think I got it right. For one, I think I need to bake at a slightly lower temperature for a slightly longer time. I ended up taking a lot of flan photos for reference, but as it turns out, most of the flan photos look the same. One photo stands out though. I accidentally turned on the flash for one of my flan photos, and this is what it looks like under a flash. (As it turns out, flashes are pretty bad compared to ambient light.)
Again, I had a lot of fun making the Mexican dinner, and it was delicous. Would I do it again? Definitely! Although I dunno if I’m gonna do this every year, or if I’ll just do it on again and off again. We’ll see next year.
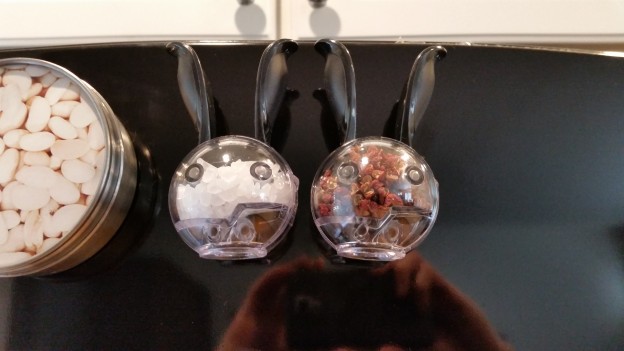
Bonus #1: My new toy. I got some magnetic pepper grinders. They’re cute, but the jury is still out on how good they are at grinding pepper. (You might be wondering why there’s a salt grinder, even though grinding salt is kinda useless. Well, the grinder came with salt, and I didn’t have anything else to replace it with.)
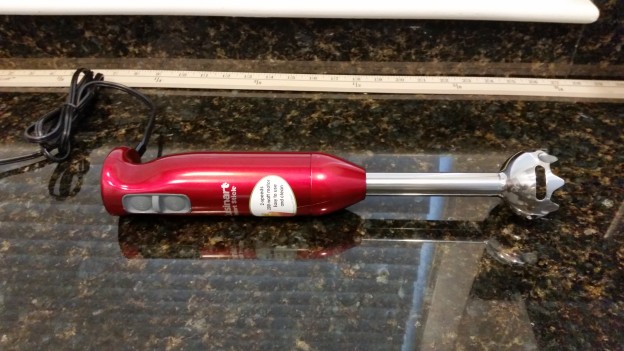
Bonus #2: My other new toy. Since my mole last year was super chunky with all the onions and tomatoes, I decided to invest in a stick blender to smooth it out. As it turns out, stick blenders are impractical for frying pans, since they splatter everywhere. If you use a stick blender, definitely use it in a stock pot. Which is what I’ll be doing next time.
