Hey humans! So you know how last year, I made a pumpkin pie with a no-bake filling in a cookie crust? Well, I tweaked the recipe a bit, added more sugar (because it wasn’t sweet enough), reduced the cloves (because it was too clove-y), and overall tweaked the recipes. And I also discovered that they do sell butter-flavored shortening in tub form, although you might have to check larger safeways, possibly maybe even Whole Foods. And butter-flavored shortening prolly made a big difference this time.
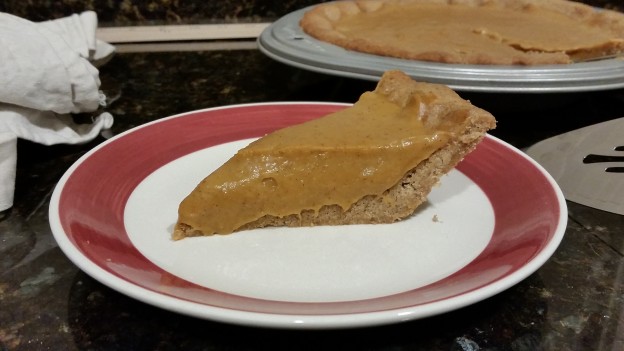
And I like what I got (and so did my Thanksgiving cohorts), so I figured I’d share the recipe with you this time.
Cookie Crust
Ingredients
1/2 stick butter
45g butter-flavored shortening
130g brown sugar
1 egg
1/2 tsp baking powder
1/4 tsp kosher salt
1/2 tsp imitation vanilla
1/2 Tbsp ground cinnamon
1/2 tsp ground nutmeg
175g a/p flour
Instructions
- Cream the butter and shortening with the sugar.
- Mix in egg until smooth.
- Add baking powder, salt, vanilla, cinnamon, and nutmeg. Mix until smooth.
- Add flour. Mix until smooth.
- Preheat oven to 425 F. Line pie tin with dough. Cover with parchment paper and weigh down with pie weights or dried beans. Bake for 10 min.
- Reduce heat to 325 F. Remove pie weights and parchment paper from cookie. crust. Bake for another 10-12 minutes, or until cookie crust is done.
Filling
Ingredients
240g whole milk
240g pumpkin puree
120g sugar
35g cornstarch
pinch salt
1 Tbsp cold butter
1 tsp cinnamon
1/2 tsp nutmeg
1/2 tsp ginger
1/4 tsp cloves
Instructions
- Mix milk, pumpkin, sugar, cornstarch, and salt in a shallow pan. Cook on medium heat until the mixture starts bubbling and thickens up, about 5 min..
- Reduce to low heat. And butter and spices. Stir until butter melts completely.
- Remove from heat and stir for an additional 2 min.
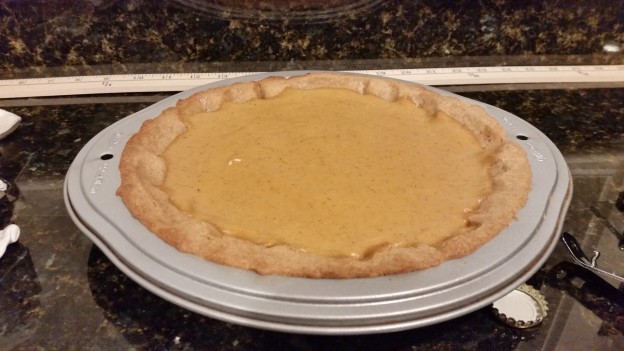
- Fill the cookie crust with the filling. Refrigerate overnight.
Note: You can probably get away with refrigerating for as little as 30 min. But it would be better to refrigerate overnight to let the filling rest and thicken up, so that the filling is a little more firm.
In any case, I’m probably going to make the recipe again next year. Who knows, I might tweak the recipe even more next year! We’ll find out in another update.