Saturday, March 29, 2014 – So I had a proper homework assignment from my Sizzleworks cooking class: bake a cake, make frosting, and bring them to class on Monday to learn how to decorate.
I’ve made American buttercream before, so I decided to learn how to make a different kind of buttercream. The different types of buttercream taught in class were Italian buttercream and Swiss buttercream, and I chose Swiss buttercream because last time I tried to heat sugar to a high temperature, I ended up with caramel instead (oops). Whereas heating eggs to just barely warm was something I’ve done before, so Swiss buttercream was right my alley. (Maybe I’ll tackle the Italian version some other day.)
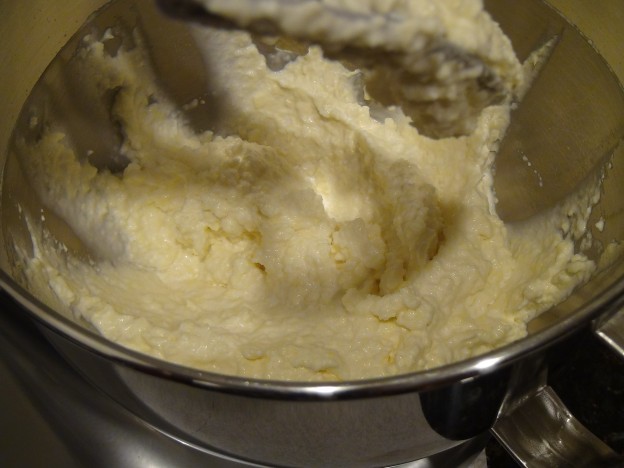
Unfortunately, while incorporating the butter into the meringue, the buttercream came out lumpy. The bowl was cold to the touch, even though the eggs were heated and the butter had been sitting for 7 hours to come to room temperature. Oh well. Thermodynamics is weird.
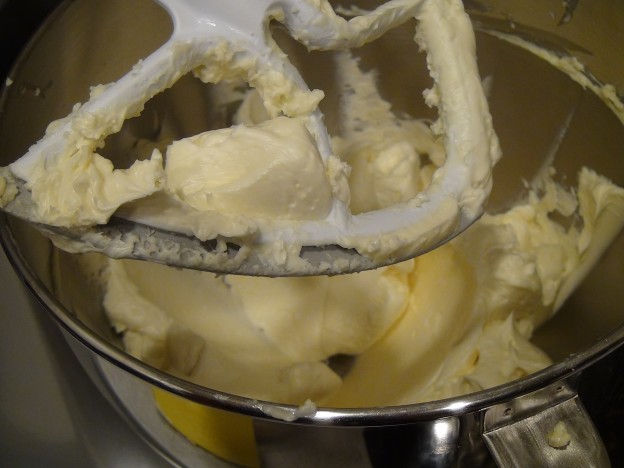
Beating for another 5 minutes or so smoothed out the buttercream. All is well. And it tasted the way it should, sweet and buttery. Both thick and not thick at the same time.
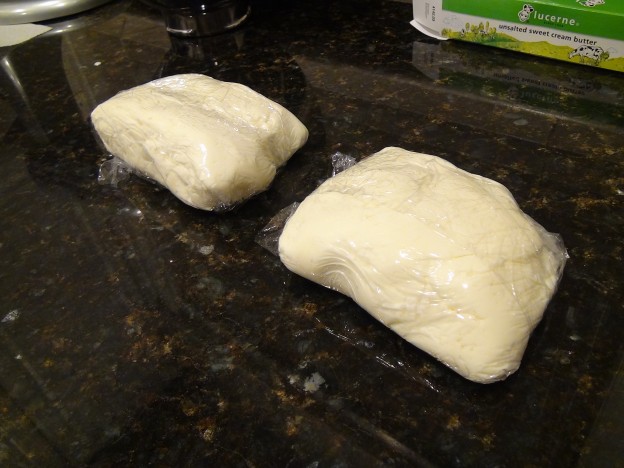
In class, they taught us that the best way to store buttercream long term is to make “pillow packs”. It’s pretty much what it sounds like. Basically, take plastic wrap, and wrap up the buttercream in the shape of a pillow. (Don’t sleep on it though.) It didn’t look like much in the bowl, but suddenly I had more buttercream than I could wrap. Spacial is weird.
Sunday, March 30, 2014 – Yesterday, I made frosting. Today, I made cake. I was originally planning on making an angel food cake, since they are the most elegant of cakes. (Unless souffles count as cakes.) But angel food cakes are difficult to frost, due to their tenderness. So I switched to a chiffon cake, which has the airiness of an angel food cake, but the structure of a butter cake.
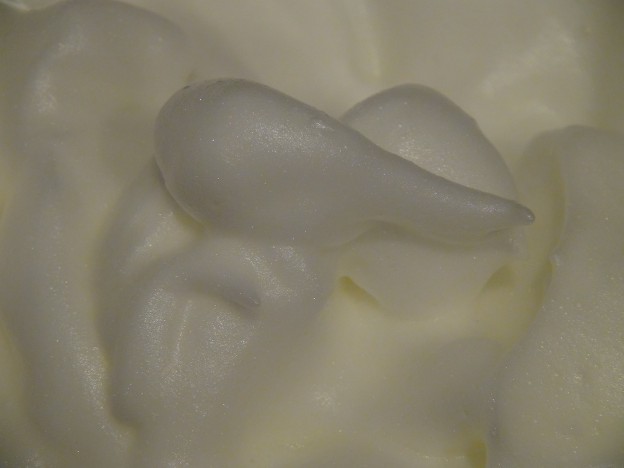
A chiffon cake has 2 components: the cake batter (oil-based, sugar, flour, egg yolks, etc), and the meringue. This recipe in particular called for a low sugar meringue (because the sugar goes into the batter). Interestingly, the meringue for the buttercream last night was thick and gooey, because of all the sugar content. The meringue for the cake today was light and airy, and if you look closely, you can see individual bubbles. This is apparently normal. Food chemistry is weird.
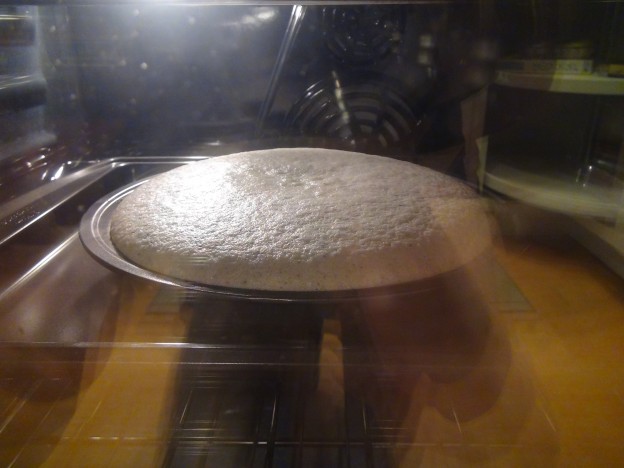
As I baked the cake, it rose beautifully.
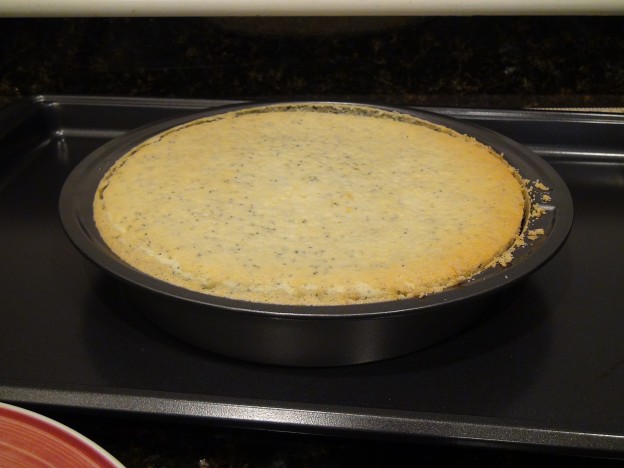
But then it collapsed. At least it wasn’t a complete collapse, like an inverted cave-in. Some shrinking is expected, but the before and after pics make it very noticeable. Maybe I need to mix the batter for longer to build a little bit more gluten. Or maybe I took it out of the oven too soon. Needs more experimentation. At least it collapsed perfectly flat.
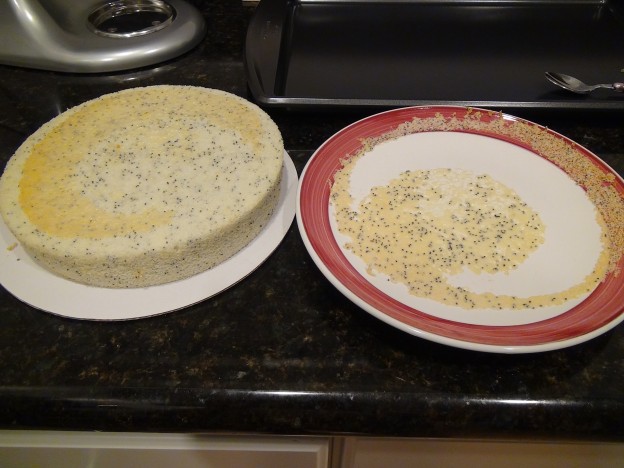
I inverted the cake onto a plate to cool, then flipped it back onto a cake round, and the crust peeled off. Oops! (Doesn’t matter, since I’ll just cover the whole thing in frosting anyway.)
Monday, March 31, 2014 – So I brought my cake and my frosting to class. After practicing a few shapes at the demo stand, it was time to frost and decorate the cake.
The first step was to cut the cake into layers. It was a small cake, so two layers is more than enough. (The word the instructors used was “torte”, but that might mean something else.)
I don’t know about the dryness of chiffon cakes. In class, they taught me that sponge cakes are generally dry, so we need to syrup the lower layers to add a bit of extra moisture and flavor. Chef Pam made me a simple syrup with a little bit of lemon juice, which I slathered onto the bottom layer of the cake. And then since lemon goes well with lemon, I filled the center layer with a thin layer of lemon curd. (In retrospect, I should have used a less thin layer, since the lemon curd is barely noticeable in the cake.)
Next step is to apply the first layer of frosting to the cake, a thin layer called the “crumb coat”. This is to prevent the crumbs from getting into the frosting. Except I ran into a few issues in this step. While re-whipping the buttercream back into shape, I didn’t whip it enough, so when I tried to spread it onto the cake, it was too thick to work with. (This is why in the picture, there are 2 distinct layers of frosting on top.) So I re-whipped it back into shape a second time, applied the crumb coat, and chilled to harden the layer.
Unlike last time, I decided to use a proper cake comb. Mostly because they had cake combs at cooking class.
At this point, I realized I was running low on buttercream, so one of my classmates loaned me her Italian buttercream. So the last finishing touches were a blend of Italian and Swiss buttercream.
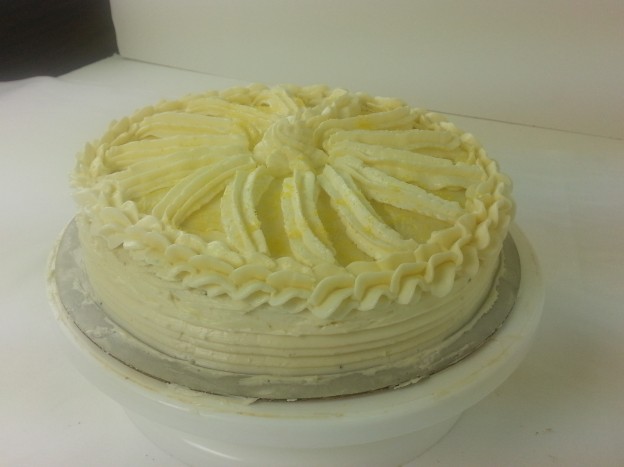
For the top, I first added the swirl in the center. Then, my imagination told me to add slightly spirally spokes, to evoke a sun symbol. (Or “pinwheel”, as one of the assistant chefs described it.) Since I had a mishap with the first layer of frosting, the center of the cake was much taller than the edges. (Even though the cake itself was almost perfectly flat.) So to hide the lump, I went around the edges with a “shell” pattern.
Finally, I noted that my cake was very monochromatic. So I grabbed some yellow sprinkles to add a subtle dash of color. Overall, I’m happy with the effect.
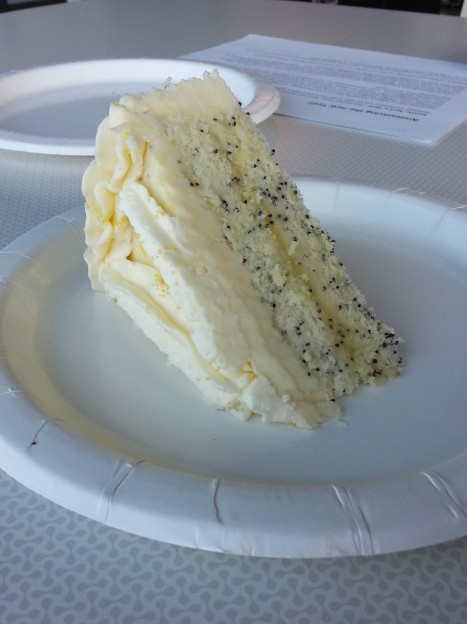
I brought the class to work on Tuesday. And it was amazing. Unlike my previous cake (sorry for the same link 3 times), the frosting didn’t solidify and become flaky. (Probably because Swiss buttercream is lighter than American buttercream), and the flavor was still spot on. And the crumb was perfect. Looking at the pictures, I can still taste it. This is easily the best cake I’ve ever baked. Giving up the cake to the rest of the team was a difficult decision to make. (But overall for the best since I ate way too much cake on Monday.)
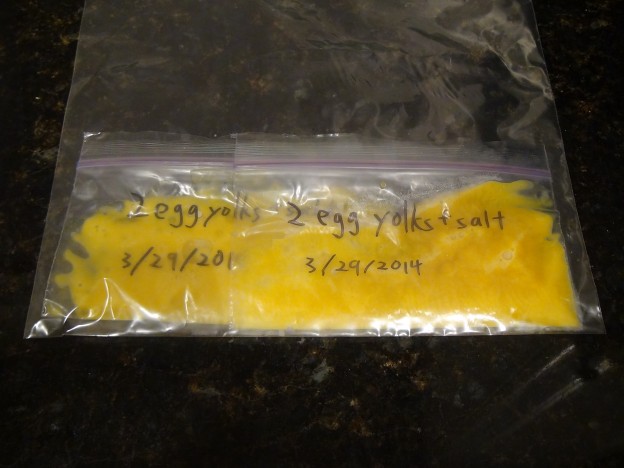
So this recipe uses a lot of egg whites. What did I do with the egg yolks? According to the internets, you can freeze egg yolks for up to 4 months, with either a pinch of salt or 3/4 tsp of sugar per 2 yolks. I’ll figure out something to do with these egg yolks some other day.
